
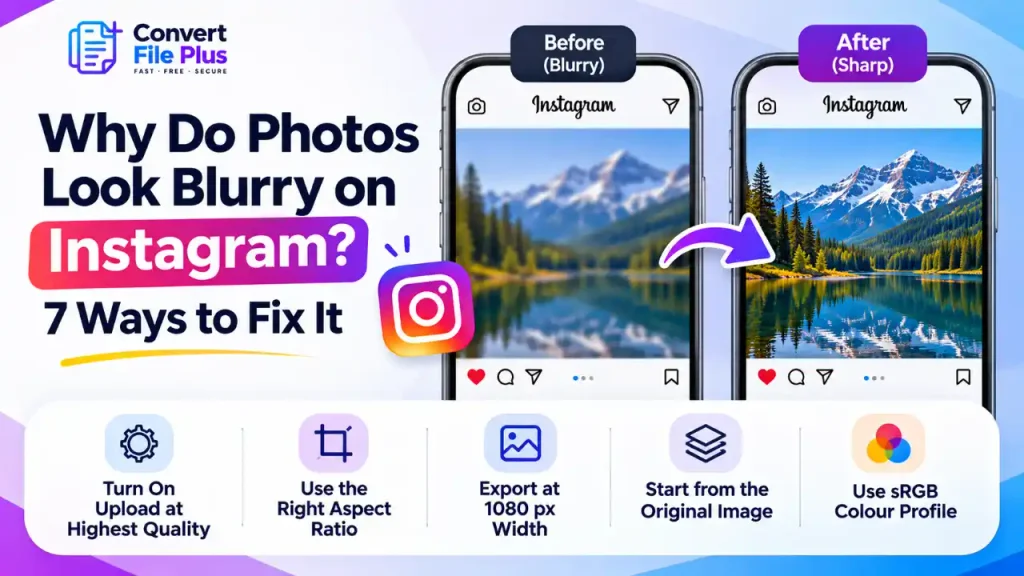
Photos can look blurry on Instagram because the platform resizes and processes uploaded images. The “Upload at highest quality” setting is also worth checking, although its exact effect on every photo upload is not clearly documented. You can reduce avoidable quality loss by starting with the original image, using suitable dimensions and checking the crop before uploading. You can cut most of the damage by turning that setting on, exporting your photo at 1080 pixels wide, and using an aspect ratio Instagram supports.
If the uploaded image itself is blurry, you generally cannot replace its original media file inside the existing post. Prepare a better version and publish it again if the improvement is important. Remember that deleting and reposting can mean losing the original post’s likes and comments. This guide helps you work out which cause is behind your blur and what to change for each one.
First, Find Out Where the Blur Starts
Before changing any settings, spend two minutes on this check. It tells you whether Instagram is really the problem.
- Zoom into the original. Open the photo in your gallery and zoom to 100%. If it is already soft there, Instagram did not cause it. Our guide to making a blurry image clearer covers what can and cannot be rescued.
- Check the pixel dimensions. On Windows, right-click the file, choose Properties, then Details. On a Mac, open it in Preview and choose Tools, then Show Inspector. If the width is well under 1,080 pixels, the photo is simply too small.
- Compare the post with the original on the same phone at the same brightness. Softness everywhere points to resizing and compression. Unexpected cropping points to aspect ratio. Duller or shifted colours point to a colour-profile change.
- Change one thing at a time. If you switch the setting, resize the file and change the crop all at once, you won’t know which step helped. Re-upload the same photo after each change and compare the results.
Keep notes on what you tried. Blur has several unrelated causes, and the quickest route to a sharp post is usually the one that matches your symptom.
Why Instagram Makes Photos Look Blurry
It resizes anything wider than 1,080 pixels
Instagram’s Help Center says it uploads photos at the best quality it can, up to a width of 1,080 pixels. A photo between 320 and 1,080 pixels wide keeps its resolution if the aspect ratio is supported. A wider one is scaled down to 1,080, and a narrower one is enlarged to 320. So a 4,000-pixel-wide photo is not shown in 4K; the extra pixels are discarded. Samsung’s support page says the same about high-resolution shares.
It compresses uploads to keep them fast
The “Upload at highest quality” toggle sits under Data usage and media quality in the app settings. Reports from PetaPixel and Business Today say it is off by default. Instagram provides an “Upload at highest quality” option, and enabling it is a sensible precaution when image quality matters. Instagram notes that higher-quality uploads may take longer. However, do not assume that a weak connection always causes a specific level of compression in photo uploads. Switching it on uses more data and can slow uploads.
It crops shapes it does not support
Photos with an unsupported aspect ratio are cropped to fit. Instagram supports several feed-photo shapes, including landscape, square, 4:5 portrait and 3:4 portrait. Instagram announced native 3:4 photo support in May 2025, allowing compatible single-photo posts and carousels to display that camera-native shape without the earlier crop. For a 1,080-pixel-wide image, 3:4 is 1,080 × 1,440 pixels. Check the current in-app crop preview before publishing, especially when using scheduling tools.
The profile grid preview is separate from the full feed image. Instagram changed its profile grid presentation to taller thumbnails, so parts of a post may be cropped in the preview even when the original feed image is intact. Check the post itself before concluding that the image has lost quality.
Weak or already-compressed source files
Screenshots, photos saved from messaging apps and files re-saved through several editors have already lost detail. Instagram compresses them again, and the losses stack. Heavy sharpening can also make compression artefacts easier to see.
Colour-profile changes
If the photo looks duller rather than blurrier, colour may be the cause.
How to Fix Blurry Instagram Photos
- Turn on Upload at highest quality. Open your profile, tap the menu, go to Settings and privacy, then Data usage and media quality, and switch on Upload at highest quality. Menu names change between app versions, so use the settings search if you can’t find it. Also turn off any “Use less mobile data” option, and upload on Wi-Fi when the photo matters.
- Start from the original. Use the camera file or your editor’s export, not a screenshot or a copy from a chat app.
- Export at the right size. Use 1,080 pixels wide and one of the shapes in the table below. Don’t enlarge a small photo to reach 1,080; enlarging adds pixels, not detail. If the terms are confusing, see image resolution versus image size.
- Compress once, and gently. Save a high-quality JPEG. Instagram will compress it again, so a file that is already heavily compressed shows more damage. Avoid re-saving the same file in several apps.
- Export in sRGB if your colours shifted. Most editors offer a “convert to sRGB” option in their export dialog, though the wording varies.
- Crop in your editor, not in the app. Keep the subject near the centre so the 3:4 grid crop doesn’t cut it off.
- Re-upload and compare. View the new post on your phone at normal size next to the old one. Deleting the old post also removes its likes and comments, so do this only when quality matters more.
Sizes to export
Width is the part Instagram documents; heights follow from the aspect ratio.
| Content type | Size (pixels) | Ratio | How well supported |
|---|---|---|---|
| Portrait post | 1,080 × 1,350 | 4:5 | Within the range in Instagram’s help text |
| Square post | 1,080 × 1,080 | 1:1 | Within the range in Instagram’s help text |
| Landscape post | 1,080 × 566 | 1.91:1 | Lower edge of the range in Instagram’s help text |
| Tall post | 1,080 × 1,440 | 3:4 | Reported by recent guides; confirm in the app |
| Story or Reel | 1,080 × 1,920 | 9:16 | Commonly used full-screen design size; not presented here as a confirmed organic Story upload requirement. |
If you need to resize a file to those dimensions, the ConvertFilePlus Image Resizer lets you turn on resizing and set the size for individual images. The page states a 50 MB limit per file and mentions a daily limit on free conversions. It has no Instagram preset, so enter the size yourself and check the result at 100% before posting.
Mistakes That Keep Photos Blurry
- Uploading a huge original and expecting Instagram to keep every detail.
- Judging a photo by its profile-grid thumbnail instead of the post itself.
- Enlarging a small image to reach 1,080 pixels. The same logic explains why images lose quality when uploaded to websites.
- Re-saving one JPEG through several apps before posting.
- Testing on a weak connection with the upload-quality setting off.
Compare the old and new posts on the same phone at normal brightness. Check fine details such as text, hair and fabric to see whether the new upload looks sharper.
What These Fixes Cannot Do
Instagram always processes uploads, so even a well-prepared photo may look slightly softer than the original on a high-resolution screen. And no setting can restore detail that a low-resolution or out-of-focus original never captured. In that case, a better source photo is the real answer.
Frequently Asked Questions
Conclusion
Start with the setting, then the file. Turn on Upload at highest quality, export from the original at 1,080 pixels wide in a supported ratio, and compare the new post with the old one on your phone. If it still looks soft, go back to the source photo, because that is usually where the problem began.

- Why Is My Instagram Picture Blurry Before Posting? - November 2, 2026
- Why Do Images Look Blurry on Instagram After Uploading? How to Fix It - November 1, 2026
- Why Do Images Look Different on Different Screens? - October 31, 2026