
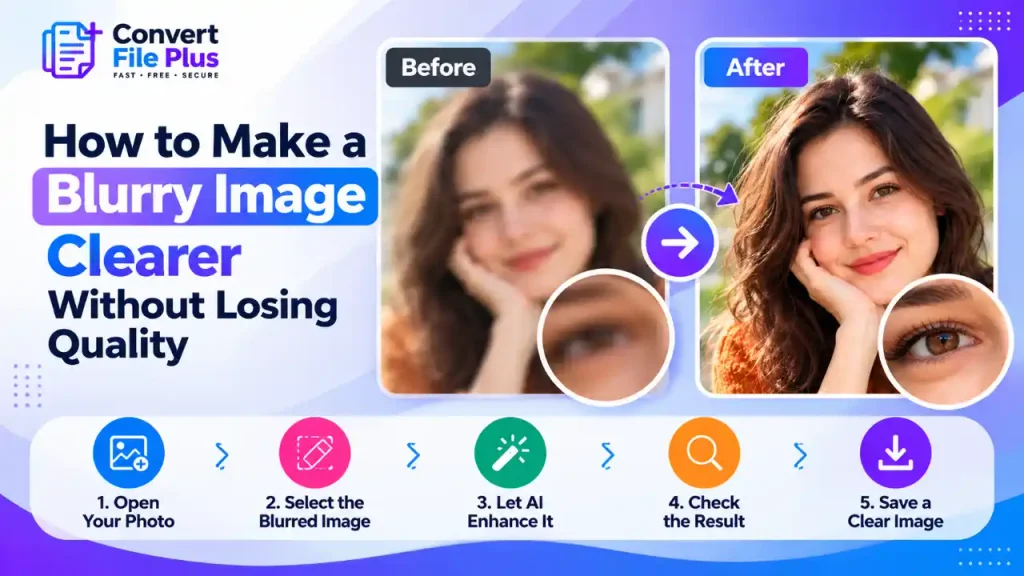
You can make a slightly blurry image look clearer with careful sharpening, noise reduction, or an AI enhancer. No method can bring back detail the camera never captured. The realistic goal is an image that looks cleaner at the size you’ll use it, without the halos, grain, and artificial textures that careless fixes add.
How much improvement you get depends mostly on what kind of blur you have. This guide shows how to identify it, which fix suits each type, and how to avoid damaging the file along the way.
First, Work Out What Kind of Blur You Have
Open the image at 100% zoom and look at the edges. Different causes leave different clues.
| Blur type | What it looks like | What can help | Realistic result |
|---|---|---|---|
| Slight softness | Edges are mildly soft everywhere | Gentle sharpening | Often a clear improvement |
| Camera shake or motion | Streaks or doubled edges in one direction | Directional or shake-reduction tools | Partial, if the blur is mild |
| Missed focus | The subject is soft while something else is sharp | Limited; sharpening only boosts edge contrast | Usually modest |
| Too few pixels | Smooth, blocky, or stair-stepped when enlarged | Resizing or upscaling | Larger, not truly sharper |
| Heavy compression | Blocky patches, smeared texture, fuzzy text | Find a better original | Little can be recovered |
Adobe’s help documentation states plainly that sharpening cannot correct a severely blurred image. That is the dividing line between a fixable photo and a replaceable one.
What “Without Losing Quality” Can Honestly Mean
Sharpening works by increasing contrast along edges. It doesn’t add information, so the picture looks crisper but contains no new detail. Push it too far and you get bright outlines around edges (halos), exaggerated grain, and a brittle look.
AI enhancers work differently. They predict plausible detail, which can look impressive but may not match the real scene. Our guide to how AI upscalers add detail explains why that matters for faces, text, and logos.
So “without losing quality” here means three things:
- Make no visible damage.
- Keep the original untouched.
- Avoid stacking lossy saves.
Step-by-Step: Making a Blurry Image Clearer
The exact menus differ by program and version, so use your software’s current options.
1. Find the best original. Use the camera file or first download, not a screenshot or a copy re-saved by a messaging app. Work on a duplicate so you can start over.
2. Inspect at 100% and diagnose. Use the table above. If nothing in the image is sharp and the subject is badly smeared, skip ahead to the troubleshooting section before spending time on edits.
3. Reduce noise first, if the image is grainy. Adobe advises reducing noise before sharpening so the sharpening doesn’t intensify it. Photos taken in low light often need this step.
4. Sharpen gently, on a separate layer or copy. Unsharp Mask is a good starting point. Adobe’s guidance for high-resolution images is a radius of about 1–2 pixels. It also suggests raising the threshold (2–20) to avoid amplifying noise in smooth areas such as skin. For high-resolution prints, it suggests an amount between 150% and 200%.
Treat those numbers as starting points for large files, not rules. A small web image usually needs less. If your editor offers layers, setting the sharpening layer to Luminosity helps prevent colour shifts along edges. Free editors such as GIMP include an equivalent (the underlying operation is called Sharpen (Unsharp Mask)), though menu names vary by version.
5. For motion blur, use a tool designed for the problem. Some photo editors provide motion-blur or shake-reduction controls. Check the options available in your specific software version before following a tutorial. Adobe removed Shake Reduction from desktop Photoshop in version 23.3, so older instructions showing it under Filter > Sharpen > Shake Reduction do not apply to current Photoshop versions. If your editor lacks a suitable tool, try a separate AI enhancement workflow and compare the result carefully.
6. Use an AI enhancer as a comparison, not a verdict. If you try one, keep the result separate from your manual edit. Zoom in on faces, numbers, and small text, where invented detail does the most harm. Check the service’s privacy terms before uploading anything personal.
7. Compare, then export once. View the before and after at the same zoom level. If the “fixed” version looks harsher, go back and use less. Save the final result as a new file. Repeated lossy saves each discard a little more detail, so edit from the original and export a single time.
If the Image Is Also Too Small
Sometimes the picture isn’t blurry so much as short of pixels, and it looks soft once it’s stretched to fill a larger space. In that case sharpening alone won’t help, because there isn’t enough information to work with. Our guide to increasing image resolution covers how to set a target size and enlarge sensibly.
Enlarge first, then sharpen lightly. Adobe also notes it can help to sharpen once for the camera’s softness and again after resizing, in small amounts each time.
Common Mistakes and How to Fix Them
- Over-sharpening. Halos or crunchy grain mean the amount or radius is too high. Lower it, or sharpen only the areas that need it.
- Sharpening a noisy image. Reduce the noise first, then sharpen.
- Expecting a rescue of severe blur. Imagine a handheld shot of a shop sign where the letters are smeared into streaks. Sharpening may make the streaks more contrasty, not readable. If the details matter, retake the shot or find another source.
- Judging at the wrong zoom. A fix that looks fine zoomed out can fall apart at 100%. Check both, and check at the size the image will actually appear.
- Trusting AI output for text, faces, or evidence. Invented detail can look convincing and still be wrong.
- Saving over the original. Always keep the untouched file.
Conclusion
Diagnose the blur first, then use the lightest fix that works: reduce noise, sharpen gently, and export once from a preserved original. If the image still looks poor at 100% after a modest edit, the better move is usually a sharper source photo, not more processing.
Frequently Asked Questions

- Why Is My Instagram Picture Blurry Before Posting? - November 2, 2026
- Why Do Images Look Blurry on Instagram After Uploading? How to Fix It - November 1, 2026
- Why Do Images Look Different on Different Screens? - October 31, 2026