
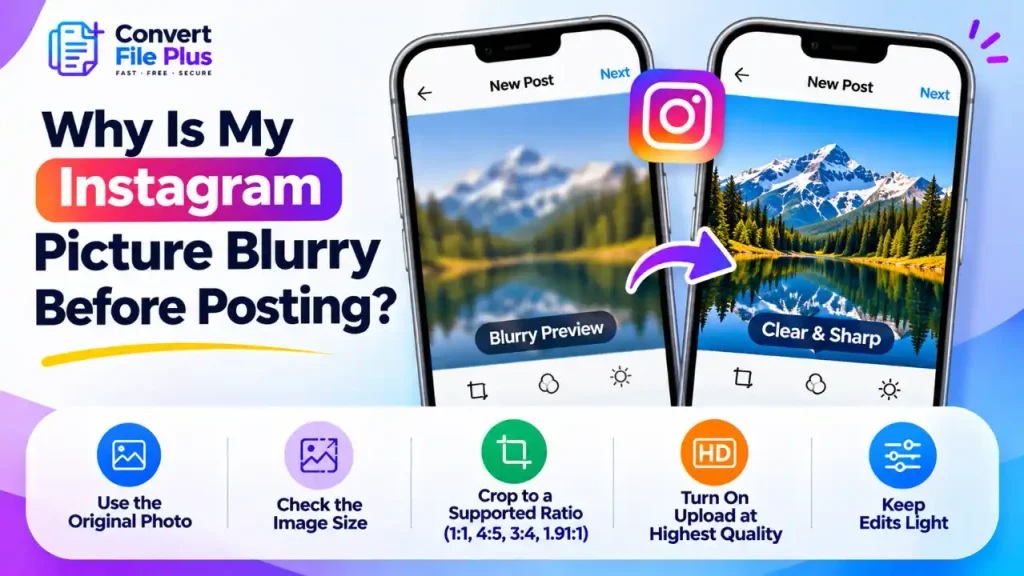
If a photo looks blurry in Instagram’s preview, the cause is usually the file or the editing steps, not Instagram’s upload compression. The most common reasons are a small or already-compressed image, a low-resolution copy that your phone is showing instead of the original, and zooming or cropping that enlarges too few pixels.
Instagram says it uploads photos at the best quality it can, up to 1,080 pixels wide, so the processing most people blame happens when you share. This guide helps you work out which cause you’re dealing with and what to change before you tap Share. If the blur only appears once the post is live, start with our guide to why Instagram photos look blurry after upload.
Step one: work out what kind of blur you’re seeing
Spend two minutes on this before changing any settings. It saves a lot of guessing.
- Open the photo in your gallery and zoom to 100%. If it is soft there, Instagram has nothing to do with it. Focus, camera shake or heavy digital zoom is the problem.
- Check the pixel dimensions. A photo only a few hundred pixels wide will always look soft when it fills a phone screen. Our explanation of image resolution versus image size covers how to read these numbers.
- Compare the same photo in Instagram and in your gallery, at the same screen brightness. A photo that is sharp in one and soft in the other points to a different version of the file being shown.
Why a photo can look blurry before you post
The photo is small or has already been compressed
Screenshots, pictures saved from a messaging app and images downloaded from a website are often small, and they have usually been compressed once already. They may look fine as thumbnails and fall apart when Instagram displays them full-width.
Upscaling cannot add detail. Enlarging a small image cannot restore the missing detail. It may make the picture look smoother, but it will not make it genuinely sharper.
Your phone is showing a smaller copy of the photo
This one catches many iPhone owners. Apple’s guide explains that with Optimize iPhone Storage turned on, which is the default, the phone keeps storage-saving versions of photos while the full-resolution originals live in iCloud. If Instagram picks up one of those smaller versions, the photo can look soft even though the original is fine.
We can’t confirm exactly how Instagram’s picker handles this, so treat it as a likely suspect, not a certainty. The check is simple: open the photo in the Photos app first and let it finish loading. Then see whether it looks sharper when you select it again.
Pinching and cropping enlarge the picture
When you pinch to zoom or crop tightly into a corner, you are keeping only part of the pixels and stretching them to fill the frame. A 12-megapixel photo has plenty to spare, but a screenshot or a small image doesn’t. One troubleshooting guide specifically warns that zooming inside the Stories editor upscales and blurs the content.
If you need a tighter crop, make it in your phone’s photo editor first, then check that the result is still around 1,080 pixels wide or more.
Filters and edits add extra processing
Some guides report that stacking filters, repeated crops and many in-app adjustments can soften a picture, much like re-saving a JPEG over and over. Instagram doesn’t publish how its editor works, so this is not a documented rule. It is, however, easy to avoid. Do your main edits once, in a dedicated editor, and keep changes inside Instagram light.
The in-app camera
Photos taken inside Instagram can look softer than ones from your phone’s own camera app. One guide attributes this to lower capture quality and different processing. If you notice a difference, shoot with the native camera and pick the picture from your library instead.
iPhone HEIC photos
iPhones shoot in HEIC by default, and one guide suggests that switching the camera format to “Most Compatible” (JPEG) can reduce odd artefacts. Results vary, and HEIC is more likely to explain colour or banding problems than plain softness. It’s worth a test, but it is not the first thing to try.
Quick diagnosis table
| What you see | Likely cause | What to try |
|---|---|---|
| Soft in your gallery too | The original is out of focus, shaken or heavily zoomed | Use a sharper shot; Instagram can’t fix this |
| Sharp in Photos, soft in Instagram’s picker | A smaller stored copy is being shown | Open the original in Photos and check whether it has fully loaded. |
| Looks fine, then blurs when you crop or zoom | Too few pixels are being enlarged | Crop in your phone’s editor first; skip heavy zoom |
| Soft only on screenshots or saved images | Small, already-compressed source | Find the original file |
| Gets worse with each filter or edit | Extra processing | Edit once outside Instagram, then keep in-app changes light |
| Softer when shot inside Instagram | In-app camera quality | Use the native camera app |
How to fix it before you post
- Start from the original. Use the file from your camera roll, not a screenshot or a copy that came through a chat app.
- Make sure the full-resolution version is on your phone. On an iPhone, open the photo in Photos and wait for it to load. If you have the storage, the Photos settings under iCloud let you switch from Optimize iPhone Storage to keeping originals on the device.
- Check the width. Aim for at least 1,080 pixels wide. Wider is fine, as Instagram will scale it down to that, but there is no benefit to going far beyond it.
- Crop and resize before you import. Choose a shape Instagram supports, such as 1:1, 4:5 or 1.91:1, so the app doesn’t have to crop for you. Keep the picture sharp by resizing down, not up.
- Keep in-app editing minimal. Apply one filter and small adjustments at most.
- Switch on “Upload at highest quality.” In the mobile app this sits under the settings for data usage and media quality, though the menu names change between versions. Be realistic about it: it is described as an upload setting, so it may not change what you see in the preview.
- Post a test and compare. Look at the live post and the original on the same phone at normal size. If the post looks sharp, the preview was not telling you the whole story.
If you need to bring a file to the right size, the ConvertFilePlus image converter has an option to turn on resizing and enter your own dimensions for individual images. It has no Instagram preset, it lists a 50 MB limit per file, and it mentions a daily limit on free conversions, so you’ll need to type in the size you want and check the result at 100% before posting.
What these fixes can’t do
No setting can bring back detail that was never captured. If the original is out of focus or tiny, the realistic answer is a better source photo. Our guide to making a blurry image clearer explains what sharpening and enhancement tools can and can’t recover.
And even a well-prepared photo goes through Instagram’s processing at upload, so a small difference from the original is normal on a high-resolution screen.
Common mistakes
- Judging quality from a tiny thumbnail instead of viewing the photo full-size.
- Enlarging a small picture to reach 1,080 pixels.
- Zooming in the editor to fix a framing problem that should have been solved in the original shot.
- Re-saving the same file through several apps before posting.
- Changing five settings at once, then not knowing which one helped.
Frequently asked questions
Conclusion
Check the original at 100% first, because that tells you quickly whether Instagram is involved at all. Then make sure your phone is showing the full-resolution file, crop and resize before you import, and keep in-app edits light. If the photo is soft in your gallery, a sharper shot will help far more than any setting.

- Why Is My Instagram Picture Blurry Before Posting? - November 2, 2026
- Why Do Images Look Blurry on Instagram After Uploading? How to Fix It - November 1, 2026
- Why Do Images Look Different on Different Screens? - October 31, 2026