
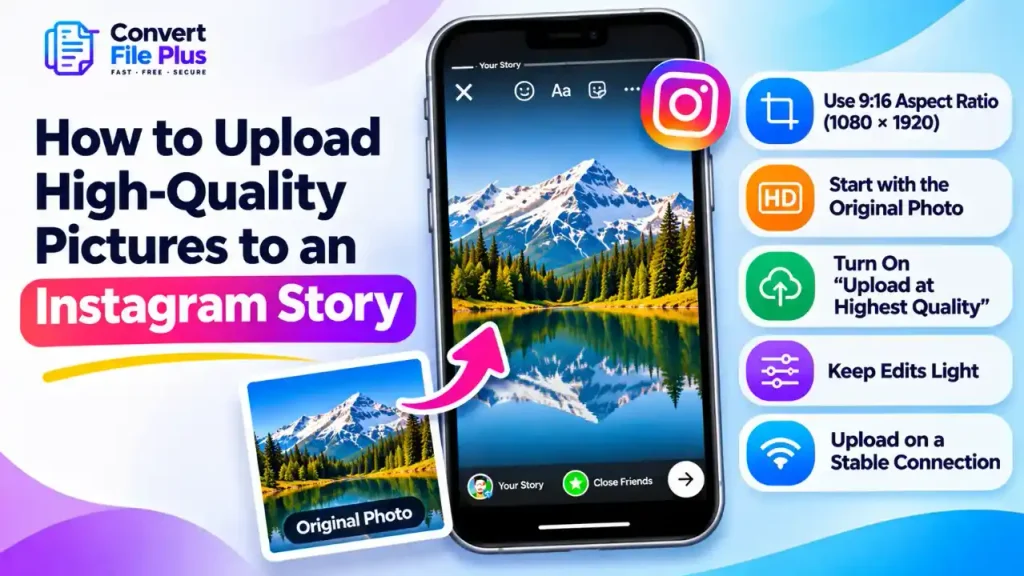
To keep a picture sharp in an Instagram Story, start with the original camera file, crop it to a tall 9:16 shape before you upload (1,080 × 1,920 pixels is the usual target), turn on Instagram’s “Upload at highest quality” setting, and post over a steady connection. Instagram will still compress the image, so the goal is not to avoid compression. It is to hand Instagram the best possible file so there is less to lose.
This guide walks through that process in order, explains why each step matters, and shows how to check the result. If your Stories are already coming out soft and you want to find out why, our guide on why pictures look blurry on Instagram Stories covers the diagnosis side.
What “high quality” means for a Story
Three things decide how a Story photo looks on someone’s screen.
Pixel count. A Story fills the entire phone display, so a photo with too few pixels gets stretched. The figure most guides recommend is 1,080 pixels wide by 1,920 tall. Instagram’s Help Center states that photos are uploaded at the best quality possible, up to 1,080 pixels wide, though that page describes photo sharing in general rather than Stories specifically. Treat 1,080 × 1,920 as sensible guidance, not an official Story rule.
Shape. A Story is a tall 9:16 frame. Most phone cameras shoot 4:3 or 3:4. A photo in a different shape either leaves empty space around it or gets enlarged and cropped to fill the screen, and enlarging softens it.
Compression. Instagram shrinks every upload so it loads quickly. You can’t switch this off. You can only avoid giving it extra problems, such as a photo that has already been compressed several times.
A note on “72 ppi”, which some guides mention: on phone screens, what counts is the pixel dimensions. The ppi value stored in a file is mostly a print setting and won’t make a Story look sharper.
What you need before you start
- The original photo from your camera roll, not a screenshot or a copy sent through a chat app.
- A phone photo editor (the built-in one is fine) that can crop to 9:16.
- A stable Wi-Fi or mobile connection.
- About two minutes.
Step-by-step: upload a sharp Story photo
- Open the original and zoom in. Pinch to 100% in your gallery. If the picture is soft or blurred here, nothing Instagram does can fix it. Pick a sharper shot.
- Check the pixel dimensions. The photo’s info panel usually shows them. A width well below 1,080 pixels will look soft at full-screen size.
- Crop to 9:16 before uploading. Use your phone editor’s crop tool and choose 9:16. Keep the subject near the middle, away from the top and bottom edges where Instagram’s own buttons and your name sit.
- Avoid enlarging. Don’t zoom a small photo up to reach 1,080 × 1,920. Adding pixels doesn’t add detail.
- Turn on “Upload at highest quality.” In the Instagram app, open your profile, tap the menu, then Settings and privacy, then look for Data usage and media quality (some versions say Media quality). Switch on Upload at highest quality, and switch off any “Use less mobile data” option. Menu names change between versions, so use the search box in Settings if you can’t find it.
- Upload from your gallery with minimal edits. In the Story camera, pick the photo from your gallery. Add text or stickers afterward and keep them light.
- Compare the result. Once it is live, view your Story and the gallery original on the same phone at the same brightness. Look at edges, small text and faces.
Which starting point works best?
| Your photo’s source | What to expect | What to do |
|---|---|---|
| Original camera photo | Most pixels, best starting point | Crop to 9:16 and upload |
| Edited export from an app | Good if exported at full size | Check the export size; avoid a second compression pass |
| Screenshot | Often low-resolution and already compressed | Find the original file if possible |
| Photo from a chat app | Usually shrunk and compressed | Ask for the original or use your own copy |
| A Story you downloaded earlier | Already processed by Instagram | Don’t re-upload it; use the original instead |
Should you resize outside Instagram?
Sometimes. If your photo is far larger than 1,080 pixels wide, Instagram will scale it down anyway, and you’ll likely get a similar result either way. Resizing yourself helps when you want control over the exact crop or when the file is not in a format your editor can handle.
The ConvertFilePlus image converter has an option to turn on resizing and enter your own width and height for individual images. It has no Instagram preset, so you would type the dimensions in yourself. The page lists a 50 MB limit per file and mentions a daily limit on free conversions. Keep the photo’s proportions in mind: forcing a 4:3 photo into a 9:16 frame will stretch it, so crop first and resize second. Check the finished file at 100% before you post.
Will the setting make a visible difference?
The toggle is intended to prioritize upload quality, so it is worth enabling when image quality matters. However, Instagram does not clearly document its exact effect on Story photos or confirm that it is off by default. Honest expectations help, though: some guides say many people won’t see a big change, and Instagram doesn’t document exactly how it affects Story photos. It also can’t rescue a small or out-of-focus picture. Using more data and a slower upload are the trade-offs.
Common mistakes and how to fix them
- Using a screenshot. It looks fine as a thumbnail but is often small and already compressed. Locate the original.
- Pinch-zooming inside the Story editor. Zooming keeps only part of the pixels and stretches them. Crop in your photo editor first if you need a tighter frame.
- Piling on edits. Reports suggest heavy filters, stickers or music may lower quality. Instagram doesn’t document this, so test it: post a plain version and a decorated version of the same photo and compare.
- Changing everything at once. Change one thing per test so you know what helped.
- Judging from a tiny preview. View the full-screen result.
- Uploading on an unstable connection. A weak connection can interrupt or delay uploads. Use a stable network to avoid upload problems, but don’t assume it is the cause of image blur.
- Using an outdated app. Update Instagram before troubleshooting further.
If a photo won’t open in your editor or won’t upload, check its format. iPhone photos can be saved as HEIC; if a tool rejects one, our HEIC to JPG converter is one way to get a JPG copy.
What these steps can’t do
No setting restores detail the camera never captured. A photo that is blurry, tiny or heavily compressed will stay that way. Our explanation of image resolution versus image size helps you read the numbers on a file, and our guide on making a blurry image clearer explains what sharpening tools can and can’t achieve. Even a well-prepared Story may look slightly different from the original, because Instagram processes every upload and phone screens vary.
Frequently asked questions

- What Is DPI in an Image? Does It Affect Image Quality on Screen and Print? - November 15, 2026
- Why Does WhatsApp Reduce Photo Quality? How to Send Images in HD - November 11, 2026
- Why Does Instagram Crop My Photos When I Upload Them? How to Fix It - November 9, 2026