
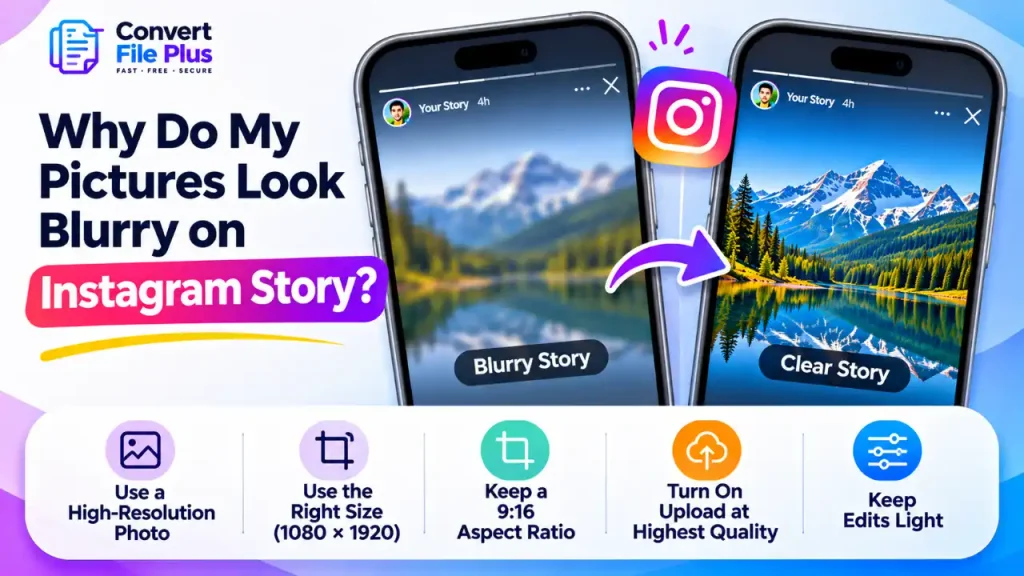
Pictures can look blurry on Instagram Stories for several reasons: the photo has too few pixels to fill a full-screen frame, it was zoomed or cropped inside the Story editor, it was already compressed before you picked it, or Instagram’s upload processing softened it. The first three are in your hands, and a two-minute check will usually show which one you’re dealing with.
A Story fills the whole phone screen, so softness that nobody notices in a small feed post becomes obvious here. This guide shows how to find where the blur starts and what to change. It covers photos. Video adds factors such as bitrate that deserve a separate guide.
Why Stories show blur more easily than feed posts
A feed photo is displayed at a fraction of the screen. A Story is stretched across all of it, so every missing pixel counts. The canvas most guides use for Stories is 1,080 × 1,920 pixels, a tall 9:16 shape. Instagram’s Help Center says it uploads photos at the best quality it can, up to 1,080 pixels wide, but that page describes photo sharing in general. We couldn’t find an Instagram page that documents a separate organic Story size or explains how Stories are compressed, so treat the exact figures as widely used guidance, not official rules.
One more point helps set expectations. Many current phones have screens at least 1,080 pixels wide, and some are wider. A Story at exactly 1,080 pixels may be scaled up slightly to fit. That is general scaling logic, not a measured result, but it is one reason a small difference from your gallery copy is normal even when everything is done right.
Find where the blur starts
Change one thing at a time, and compare on the same phone at the same screen brightness.
- Zoom into the original. Open the photo in your gallery and zoom to 100%. If it is soft there, Instagram isn’t the cause.
- Check the pixel dimensions. The photo’s info or details panel usually lists them. A width well under 1,080 pixels will look soft at full-screen size.
- Watch the Story editor preview. Look at the photo before you touch it, then pinch to zoom. If it degrades as you enlarge it, the zoom is the cause.
- Post it and compare. View the live Story next to the original. A sharp preview followed by a soft post points to upload or processing.
- Check other people’s Stories. If every Story on your phone looks soft, your connection, data-saving settings or app version is more likely the problem than your file.
| What you see | Likely cause | What to try |
|---|---|---|
| Soft in your gallery too | Out-of-focus, shaky or low-pixel original | Use a sharper photo |
| Sharp until you pinch or crop | Too few pixels being enlarged | Crop in a photo editor first, or skip the zoom |
| Soft only on screenshots, saved or forwarded images | Small, already-compressed source | Find the original file |
| Empty bars, or an enlarged, cropped look | Photo isn’t 9:16 | Crop or export to 9:16 |
| Sharp in preview, soft once posted | Upload setting, weak connection or processing | Check upload settings, retry on a stable connection |
| Every Story looks soft on your phone | Data saver, connection or app issue | Review settings, update the app |
Too few pixels
Screenshots, images saved from websites and pictures that arrived through a chat app are usually small and have already been compressed once. They can look fine as thumbnails and fall apart at full-screen size. Enlarging them in an editor adds pixels without adding detail, so it won’t make them sharper. Our explanation of image resolution versus image size shows how to read the numbers.
Zooming and cropping inside the editor
Pinching to zoom keeps only part of the photo’s pixels and stretches them across the screen. A full-resolution camera photo can usually take a moderate crop. A screenshot or small image can’t. If you need a tighter frame, crop in your phone’s photo editor first and confirm the result is still about 1,080 pixels wide or more. We cover this in more detail in our guide to why a picture looks blurry before posting.
A photo that isn’t 9:16
Most camera photos are 4:3 or 3:4. Placed in a 9:16 Story, they either leave empty space above and below or get enlarged to fill the screen, which crops and softens them. A quick check: divide width by height. A 9:16 image gives about 0.56, while a 3:4 photo gives 0.75. You can accept the borders, or crop to 9:16 yourself and keep the subject near the centre so the interface at the top and bottom doesn’t cover it.
Heavy edits, stickers and music
Some guides report that adding stickers, GIFs, music or many filters lowers Story quality. Instagram doesn’t document this, so we can’t call it a rule. It is cheap to test: post a plain version of the same photo and compare. Do your main edits once, in a dedicated editor, and keep changes inside Instagram light.
Upload settings and connection
Instagram has an “Upload at highest quality” option. News and help-centre-style guides place it under Settings and privacy, then Data usage and media quality (some app versions label it Media quality). It is reported to reduce compression on uploads, and a “Use less mobile data” option can work against it. We couldn’t open an Instagram Help Center page describing either setting, and menu names change, so use the search box in Settings if you can’t find them. Higher-quality uploads use more data, and no setting can restore detail that the original never had.
Which camera you used
Advice conflicts here. Some guides recommend Instagram’s in-app camera for Stories, while others say the phone’s native camera app gives sharper results. Without Instagram documentation, the practical answer is to photograph the same scene both ways and compare on your own phone.
How to fix a blurry Story
- Start from the original camera file, not a screenshot or a copy sent through a chat app.
- Check it at 100% in your gallery. If it is soft, retake it.
- Crop to 9:16 outside Instagram if you want a full-screen look, and avoid pinch-zooming in the editor.
- Turn on Upload at highest quality and switch off Use less mobile data.
- Upload on a strong, steady connection. Whether that is Wi-Fi or mobile data matters less than how stable it is.
- Keep in-app edits light. Add stickers and music only after you’ve confirmed a plain version looks sharp.
- Update the app to the latest version.
- Compare and repost if needed. A posted Story’s photo can’t be swapped out, so delete and repost only if it matters. Stories also expire after 24 hours unless you add them to a Highlight.
Preparing a photo before you upload
If a photo needs resizing, the ConvertFilePlus image converter lets you turn on resizing and enter your own width and height for individual images. It has no Instagram preset, lists a 50 MB limit per file, and mentions a daily limit on free conversions. Choose dimensions that keep the photo’s proportions, because forcing a 4:3 photo into 1,080 × 1,920 can stretch it. Check the result at 100% before posting.
For a full-screen Story, 1,080 × 1,920 pixels at 9:16 is a sensible target. Don’t enlarge a small photo to reach it. If the picture itself is soft, our guide on making a blurry image clearer explains what sharpening can and can’t do.
Common mistakes
- Posting screenshots or chat-app copies and blaming Instagram.
- Pinching to zoom on a low-resolution photo.
- Changing several settings at once and not knowing which one helped.
- Judging quality from a tiny preview thumbnail instead of full-screen.
- Assuming a sharp feed post means a sharp Story. The two are shown at very different sizes.
What these fixes can’t do
Instagram processes every upload, so even a well-prepared Story may look slightly softer than the original on a high-resolution screen. And no setting can recover detail that was never captured. If the photo is out of focus, tiny or heavily compressed, a better source photo is the real fix.
Frequently asked questions
Conclusion
Check the original at 100% first, because that tells you whether Instagram is involved at all. Then avoid zooming, crop to 9:16 before you upload, turn on the upload-quality setting, and compare the posted Story with your gallery copy on the same phone. If it is still soft, the source photo is usually where the problem began.

- What Is DPI in an Image? Does It Affect Image Quality on Screen and Print? - November 15, 2026
- Why Does WhatsApp Reduce Photo Quality? How to Send Images in HD - November 11, 2026
- Why Does Instagram Crop My Photos When I Upload Them? How to Fix It - November 9, 2026